PPE field note
How to Stain a Fence: Contractor vs. In-House Crew, from a Safety Buyer’s Notebook
Posted on 2026-09-16 by Maeve Callahan
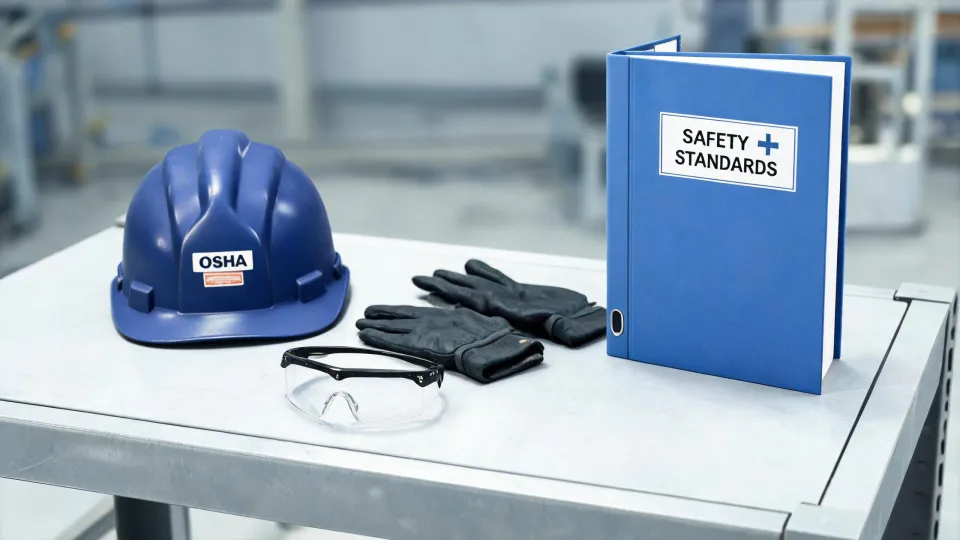
Last spring, the cedar fence around the east yard at our plant turned into a purchasing project. I say “purchasing project” because in my role, almost everything eventually becomes one. I’m the office administrator who handles PPE and facility supply orders for a mid-size manufacturer—about 150 employees, one main plant and a satellite warehouse. So when the ops manager said the fence needed to be washed, repaired and stained before the June property inspection, my first question wasn’t about stain color. It was: do we hire a fence contractor, or have our own maintenance crew do it?
If you searched “how to stain a fence,” this article might feel like it came from an unexpected direction. But most fences get stained either by the people who own them or by a crew they hire. This is the contractor-vs-in-house comparison I put together, plus the safety-goods portion I didn’t expect to learn so much from.
What We Were Comparing
The project was 280 linear feet of 6-foot cedar board fence plus a gate that had started to sag. In contractor terms, that meant power washing, replacing roughly a dozen rotted boards, and applying two coats of a semi-transparent stain. One fence company quoted us $6,380 in spring 2024. That number included materials, labor, cleanup, and hauling the old wood away.
The in-house estimate was different because the labor already existed in our maintenance budget. Materials and incidentals came to about $1,850:
- Water-based acrylic stain, wood conditioner, brushes, rollers: about $860
- Cedar pickets, screws, and wood filler: about $410
- Pressure washer rental and cleaning supplies: about $210
- Disposal fee for the old boards: about $120
- Extra PPE for the crew: about $250
That is not the whole story, and I’ll get to the hidden costs in a minute. But on paper, the gap was real.
Cost and Schedule: The Two Things That Decide Everything
Contractors usually win on schedule. The fence company we talked to said a three-person crew could finish the job in two days. They had the right pressure washer, the right spray equipment, and the experience to handle surprises like a rotted post that we hadn’t spotted. They also carried liability insurance, which we verified before they ever stepped on-site.
Our in-house route was cheaper, but slower. The maintenance supervisor, who had stained fences at a previous job, thought the crew could do it across three weekends. That meant waiting for dry weather, keeping the project out of direct sunlight, and accepting that some routine maintenance would be delayed. When I added a realistic overtime burden, the internal cost still came in around $4,300. But money wasn’t the only factor.
A contractor quote is also a promise. If the stain fails or the fence looks bad, the contractor comes back. With an in-house crew, the promise is to ourselves, and the warranty is as strong as the crew’s patience after a long week.
PPE and Skill: The Dimension That Made It a Real Comparison
The contractor’s crew had done this type of work before. Our maintenance crew had not, at least not on this scale. That didn’t mean the job was beyond them, but it meant I had to think carefully about personal protective equipment before I approved the in-house route.
Staining a fence is not just brushing liquid on wood. There is pressure washing, nail pulling, sanding, dust, chemicals, and a surprising amount of time spent kneeling on damp ground. Our safety coordinator helped me build a list: eye protection for anyone pulling nails or running a pressure washer, hearing protection for the equipment, respirators or dust masks for sanding, chemical-resistant gloves for stain handling, and boots with decent traction.
For the glove order, I went to our normal supplier and searched Magid Glove & Safety. The line that generated the most questions from other supervisors was the Magid Glove & Safety GPD700-9. If you’re looking for that code because you saw it on a reorder, I’ll save you some time: it is not a glamorous product name. The GPD700-9 is a work glove with enough dexterity for pulling nails and hauling lumber, and it held up during the gate demolition and cleanup. It was not the right glove for applying the stain itself. For that, we used chemical-resistant gloves after checking the stain label and safety data sheet.
I want to repeat that last point, because safety products get misused when people are in a hurry: the gloves you wear for fence prep and the gloves you wear while handling stain are not necessarily the same gloves. One product number does not solve every task. If a blog post or a product page tells you to use “one glove for everything,” stop and check the manufacturer’s chemical resistance data first.
Boots came up too. Two of the maintenance techs needed replacements right before the project, and the first online order came in with one pair sized wrong. That is the moment when people search “work boots near me.” In a pinch, a local distributor saved us: the tech tried on the boot, swapped sizes, and walked out the same afternoon. Our standard reorders still went through the main PPE vendor, but I stopped pretending that online sizing charts are perfect for everyone.
One Thing That Surprised Me: “Fence” in Spanish Isn’t a Single Translation
If you ended up here with “fence in Spanish” in your search history because you need a sign, this section is for you. In many Spanish-speaking countries, a wood fence is la cerca. A construction barrier or chain-link fence is often la valla. An ornamental or iron fence is sometimes la reja. Context matters more than a dictionary entry.
I learned that the hard way. My first warning sign said “No tocar cerca,” which I meant as “Do not touch the fence.” The problem is that cerca also means “near,” so the sign could easily be read as “Do not touch nearby.” The bilingual foreman corrected it to “No tocar la cerca”—with the article making it clear that la cerca is a specific fence. If you’re making safety signs in Spanglish-mixed workplaces, add enough context and never assume one word will do.
How We Stained the Fence (So You Don’t Have to Learn the Hard Way)
If you’re leaning toward the in-house route, here’s the process that worked for us. The instructions on the stain can are smarter than any blog post, but these steps cover the parts I would have missed.
- Power wash and wait. We cleaned the fence, then let it dry for about 48 hours. Wet wood rejects stain, and this step is the easiest one to rush.
- Replace and repair boards first. Rotted pickets, popped nails, and splintered edges need to be handled before any stain goes on. New cedar boards also need a little weathering or a wood brightener before they will accept stain evenly.
- Do a test spot. Stain color looks different on old cedar than it does on a store sample. We tested an inconspicuous corner near the gate.
- Check the weather. The label said no rain forecast for at least 24 hours. We also avoided staining in direct afternoon sun because it dried too fast and left lap marks.
- Stir thoroughly and apply along the grain. A sprayer made the job faster, but we back-brushed each section so the stain actually worked into the wood.
- Respect the recoat time. The second coat went on the next day, not too early and not after the surface had collected dust.
- Keep people away until the finish cured. That is when our Spanish-language signs went up.
One more note: if you choose an oil-based stain, your respirator needs change. A dust mask is not enough for solvent vapors. We used a water-based acrylic stain, which made cleanup easier and reduced fumes, but I still made sure the crew had the right respirator cartridges for the product we actually opened.
So Which Should You Choose?
We stained the fence with our in-house crew. It cost less, even after the mistakes, and it left our maintenance team with better gloves, boots, and confidence for the next project. But I wouldn’t make that call for every company.
Hire a contractor when you have a hard deadline, no one on staff with staining experience, or a fence that is taller or more complicated than a flat run of boards. Contractors also make sense when your internal team is already stretched thin, because a failed DIY staining project is not cheaper—it’s just delayed and then paid for twice.
Do it in-house when you have skilled people, a realistic weather window, and the willingness to buy the right safety equipment rather than whatever is sitting in the supply closet. The in-house route is not an excuse to skip PPE. It is an excuse to build a better PPE program.
This worked for us because we are a mid-size company with a maintenance crew that had some flexibility. If you’re running a two-person operation or a site with constant production demands, the calculus is different. And the prices I quoted were accurate as of spring 2024—material costs change fast, so verify current rates before you budget.
At the end of the job, the fence looked good, no one got hurt, and the stockroom ended up with a few extra pairs of the GPD700-9s. That’s the kind of outcome I can defend to finance and operations. Not every fence project needs a contractor. Every fence project needs a plan, and safety gear is part of the plan.

Maeve Callahan
Maeve Callahan is a head-protection analyst covering Type I and Type II hard hats, climbing-style safety helmets, bump caps, chin straps, suspensions, liners, and face-shield carriers. She applies ANSI Z89.1, EN 397, and EN 12492 criteria while comparing impact attenuation, penetration resistance, lateral deformation, electrical class, retention strength, field of vision, mass, fit range, and temperature conditioning. Her guides help EHS teams, contractors, utilities, and buyers select helmet systems for overhead hazards, work at height, electrical exposure, accessory compatibility, and worker acceptance.
Leave a Reply